Wednesday, January 12, 2011

Copper plate fail 1

My first attempt at copper plate was a mild success! Until I turned it into a mild failure, but I learned some stuff and am extremely excited about the fineness of the lines I can achieve, and with the effects of blocking out and open biting.

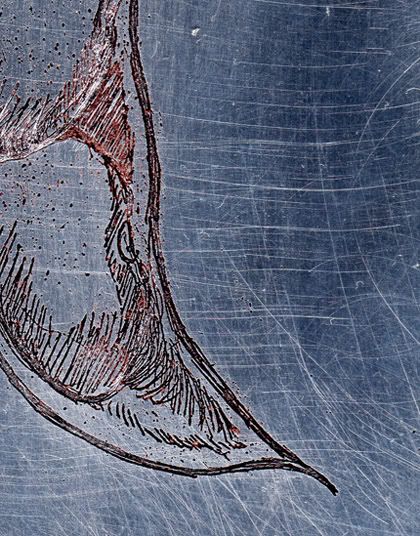
My first copper plate proof shows the teeny tiny fine lines which your computer monitor won't render because monitors have bad resolution:


Yes it's a whale.

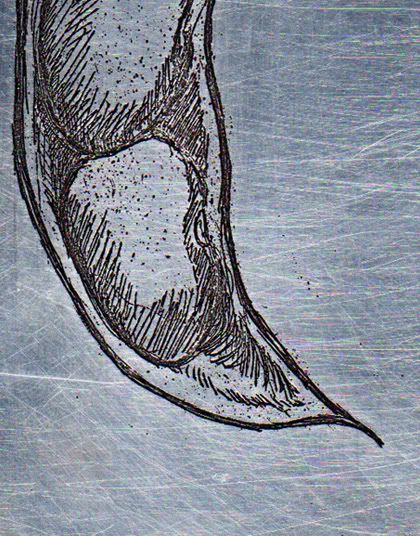
And this is what it looks like now.


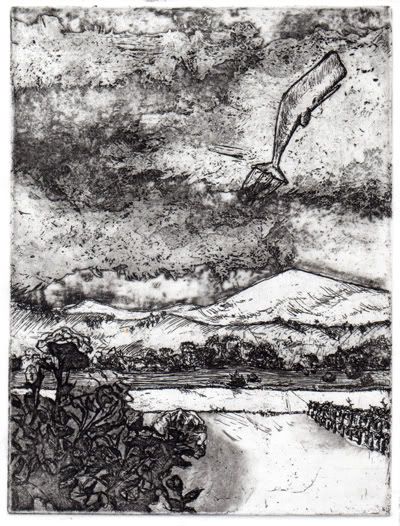
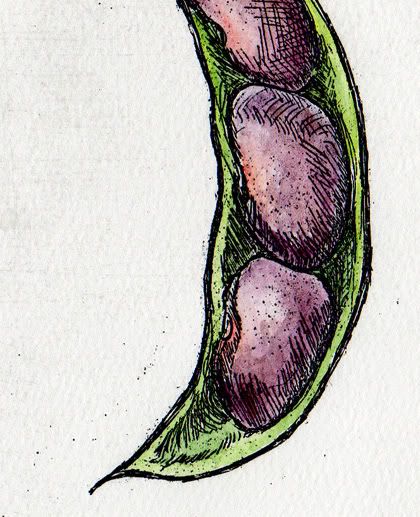
I don't get what's going on in it either. The sky looks a million more times more turbulent than I wanted it (not to mention the horrible disregard and disrespect for the play between light and dark), but the texture is kind of interesting. I also totally wrecked the intricate lines on the flowers at the bottom left.

I've redrawn this image on a new plate entirely and will be etching it when I get back to the studio, which won't be til April, and will attempt to do it a lot more carefully and thoughtfully. Meanwhile I'm going away for two months starting from 26 January, so there will be no posts on this blog until we get back. Not that you've learned to expect frequent posts on this thing!

I have a travel blog which I share with Chris, but am not sure whether we'll post anything on it while we're away.

Friday, January 7, 2011

A pint of that red stuff

One of the problems with etching aluminium in copper sulfate is the buildup of Red Stuff (technical name unknown) that occurs in the etched lines. Feathering doesn't always relieve this. I've gone so far as to scrub the plate with one of those rough sponges you use when washing cookware in an attempt to remove it. This is not recommended because it may scratch the plate and doesn't totally work anyway. Definitely don't do it with the ground still on, because it will scratch your ground. The Red Stuff must be removed because it stops the ink from going into the lines and you end up with the Most Horrible Broken Lines Ever.

Here's a picture of the Red Stuff on the plate and a picture of the resulting proof, to show you how troublesome the Red Stuff can be.


Sometimes the only way to remove the Red Stuff is to go over the lines lightly with your etching needle to dig them out. This is a pain in the ass to do so if you've found alternative methods, let me know.

This is what the plate looks like after the Red stuff has been removed.


And the resulting print, lines intact. (Ignore the colour. I can't find a proof which I haven't already painted)


And to promote myself, here is what the actual artwork looks like as a whole. It is part of my Bahay Kubo series, which you may view on Etsy. Bataw is Hyacinth bean in English, and Lablab purpureus in Science :)


I won't be using aluminium for a while because I've just bought a nice big pile of copper plates (from Neil Wallace Printmaking Supplies, Melbourne) and am (temporarily?) switching to etching copper with ferric chloride. The next post will show you my semi-horrible first attempt at etching a copper plate.

Wednesday, January 5, 2011

Queenstown, Tasmania

Here's the finished version of the plate below.

091216 Queenstown (5)n