Tuesday, June 28, 2011
Saturday, June 18, 2011
Wednesday, June 8, 2011
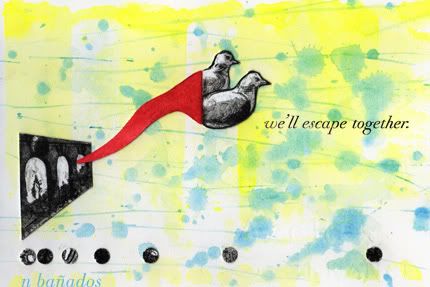
Escape Together
Guess I should post something in case my one million viewers and I myself start disbelieving that I will actually follow through with the 'resolution' below.

Sunday, June 5, 2011
The Return of the Sproutmonster
Since we got back from Europe I've been itching to make art and swimming in pools of ideas but this has been conflicting with massive doses of cynicism because I've been seeing the trends in contemporary commercial art and the majority of it is bullshit. All people want to buy are pictures of vintage birds with antlers on a white background and so that is what all the market stall holders are making. I've been doing birds with antlers on white backgrounds since I was in highschool seven years ago but apparently it's trendy now so it's become totally devoid of charm or meaning and makes people go 'awwww' then they forget about it thirty seconds later.
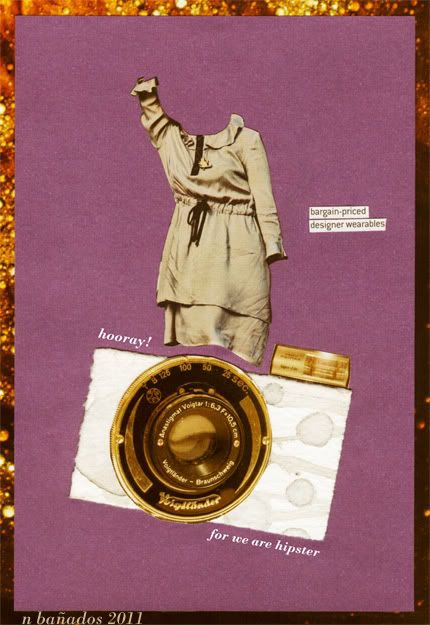
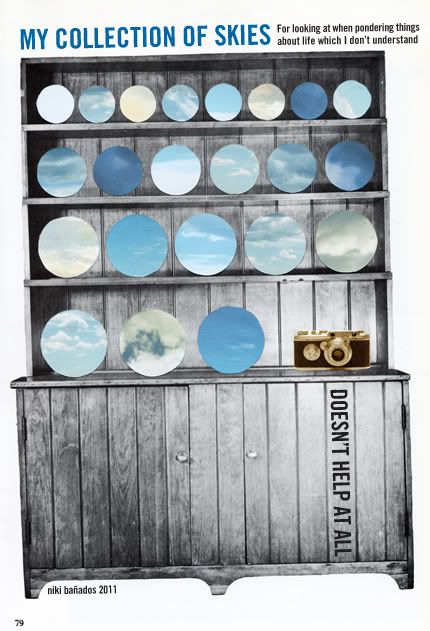
I've decided to try and go back to 2008, because that is when I made art most often, and when I freely combined different media; something which I have never done before or since. It was short like my attention span. The best part was that it was meaningless and disassociated and only for myself.
It was when I was doing this stuff. There will now be more. Stay tuned.

There will probably still be birds in it.
I might move to tumblr...
I've decided to try and go back to 2008, because that is when I made art most often, and when I freely combined different media; something which I have never done before or since. It was short like my attention span. The best part was that it was meaningless and disassociated and only for myself.
It was when I was doing this stuff. There will now be more. Stay tuned.

There will probably still be birds in it.
I might move to tumblr...
Wednesday, June 1, 2011
Herbs
I made a new small collection of prints. They are cleaner and more intricately drawn than before. I present to you: the herbs series!
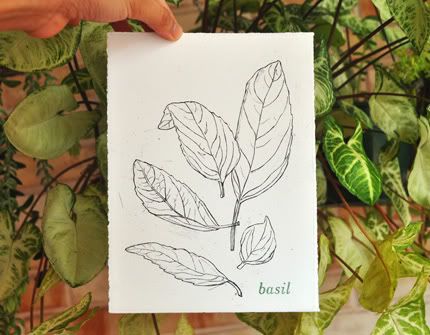
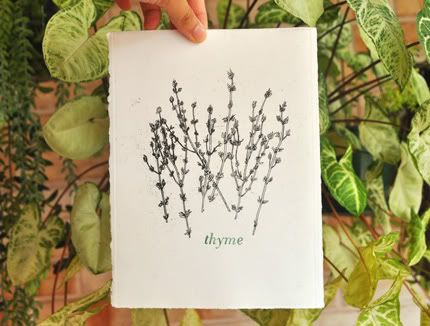
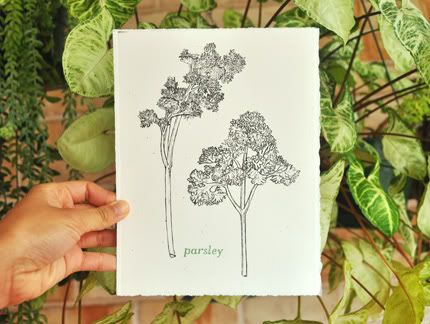
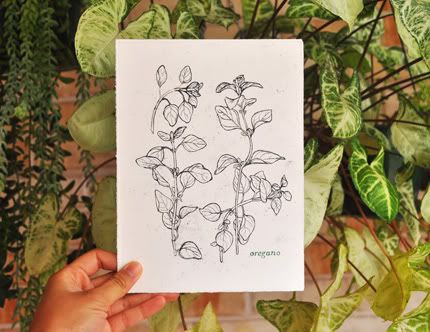
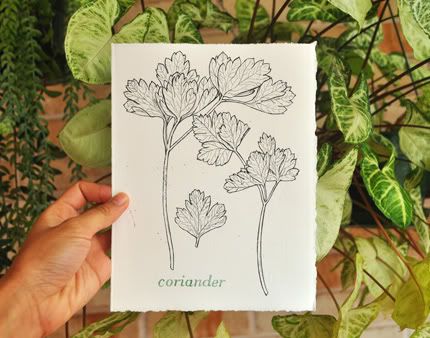
If you're of the buying persuasion, you may do so here.


If you're of the buying persuasion, you may do so here.
Tuesday, May 31, 2011
Degreasing without ammonia
A short tutorial cross posted from printsy.
How to degrease your plate
Degreasing your etching plate is important when applying a ground, aquatint, or sugarlift because it allows the medium to stick to the plate. This is traditionally done with ammonia and whiting.
If you don't like the smell of ammonia (it is like rotten fish and pee), what works equally well is household grade powder cleanser like Ajax and soy sauce. You can actually use powder cleanser by itself, but it takes three times as much wiping effort.

You apply it in the same way. Add powder, add soy sauce, and wipe with a clean, grease free rag. Rinse with water.

You'll know when your plate is degreased because the water should stick to the entire plate instead of blobbing up.

Now don't touch it with your oily fingers. The end!
How to degrease your plate
Degreasing your etching plate is important when applying a ground, aquatint, or sugarlift because it allows the medium to stick to the plate. This is traditionally done with ammonia and whiting.
If you don't like the smell of ammonia (it is like rotten fish and pee), what works equally well is household grade powder cleanser like Ajax and soy sauce. You can actually use powder cleanser by itself, but it takes three times as much wiping effort.

You apply it in the same way. Add powder, add soy sauce, and wipe with a clean, grease free rag. Rinse with water.

You'll know when your plate is degreased because the water should stick to the entire plate instead of blobbing up.

Now don't touch it with your oily fingers. The end!
Sunday, April 24, 2011
A word of warning about copper sulfate etchant
Last year I posted the recipe for an aluminium and zinc etchant made from copper sulfate. I forgot to add something very important.
Before you etch anything in this, stick an unprotected piece of aluminium into it, about 1x3 inches large. Leave it there for 5-10 minutes. This will take the edge off it so it isn't so strong. If you don't do this, the first plate you etch may become a complete mess. It will bite your needlepoint lines into lines 2mm wide, and it will even bite holes through areas protected by the ground.
Alternatively, when etching your first plate, just make sure to check it every 3-5 minutes to make sure it isn't being ravaged.
It isn't nitric acid, but it is extremely strong.
I forgot to do this just now and have suffered the printmaking equivalent of my computer crashing after drawing something on illustrator for 4 hours and not saving it.
Sunday, April 17, 2011
Removing ground
As an alternative to turpentine / methylated spirits for removing grounds, some block outs, and adhesives in general, I use a citrus based solvent called De-Solv-it. It comes in a spray container. You spray it on (outside or in a well ventilated area), leave it a minute, and wipe it off with a dry rag and no effort.
This is an Australian made product and you can get it at most hardware shops. If you live elsewhere around the world, just ask for a citrus based solvent. They work well, are less carcinogenic, are less likely to kill the nerve cells in the tips of your fingers, and don't stink as much!
This is an Australian made product and you can get it at most hardware shops. If you live elsewhere around the world, just ask for a citrus based solvent. They work well, are less carcinogenic, are less likely to kill the nerve cells in the tips of your fingers, and don't stink as much!
Wednesday, January 12, 2011
Copper plate fail 1
My first attempt at copper plate was a mild success! Until I turned it into a mild failure, but I learned some stuff and am extremely excited about the fineness of the lines I can achieve, and with the effects of blocking out and open biting.
My first copper plate proof shows the teeny tiny fine lines which your computer monitor won't render because monitors have bad resolution:
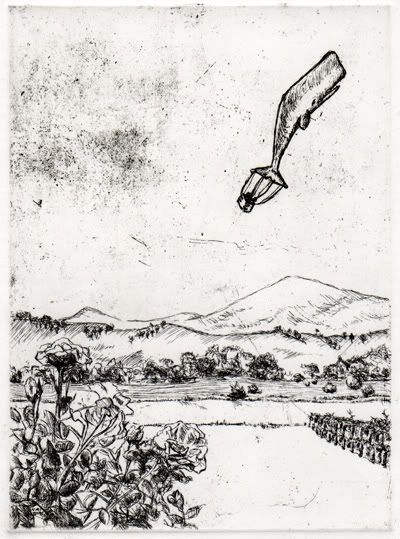
Yes it's a whale.
And this is what it looks like now.
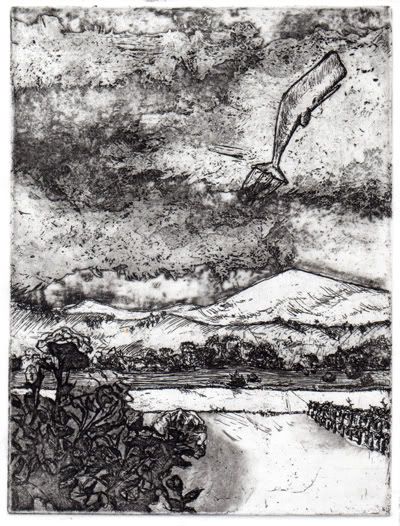
I don't get what's going on in it either. The sky looks a million more times more turbulent than I wanted it (not to mention the horrible disregard and disrespect for the play between light and dark), but the texture is kind of interesting. I also totally wrecked the intricate lines on the flowers at the bottom left.
I've redrawn this image on a new plate entirely and will be etching it when I get back to the studio, which won't be til April, and will attempt to do it a lot more carefully and thoughtfully. Meanwhile I'm going away for two months starting from 26 January, so there will be no posts on this blog until we get back. Not that you've learned to expect frequent posts on this thing!
I have a travel blog which I share with Chris, but am not sure whether we'll post anything on it while we're away.
My first copper plate proof shows the teeny tiny fine lines which your computer monitor won't render because monitors have bad resolution:

Yes it's a whale.
And this is what it looks like now.

I don't get what's going on in it either. The sky looks a million more times more turbulent than I wanted it (not to mention the horrible disregard and disrespect for the play between light and dark), but the texture is kind of interesting. I also totally wrecked the intricate lines on the flowers at the bottom left.
I've redrawn this image on a new plate entirely and will be etching it when I get back to the studio, which won't be til April, and will attempt to do it a lot more carefully and thoughtfully. Meanwhile I'm going away for two months starting from 26 January, so there will be no posts on this blog until we get back. Not that you've learned to expect frequent posts on this thing!
I have a travel blog which I share with Chris, but am not sure whether we'll post anything on it while we're away.
Friday, January 7, 2011
A pint of that red stuff
One of the problems with etching aluminium in copper sulfate is the buildup of Red Stuff (technical name unknown) that occurs in the etched lines. Feathering doesn't always relieve this. I've gone so far as to scrub the plate with one of those rough sponges you use when washing cookware in an attempt to remove it. This is not recommended because it may scratch the plate and doesn't totally work anyway. Definitely don't do it with the ground still on, because it will scratch your ground. The Red Stuff must be removed because it stops the ink from going into the lines and you end up with the Most Horrible Broken Lines Ever.
Here's a picture of the Red Stuff on the plate and a picture of the resulting proof, to show you how troublesome the Red Stuff can be.
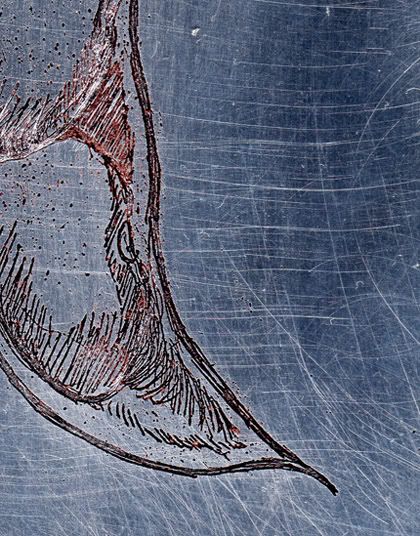
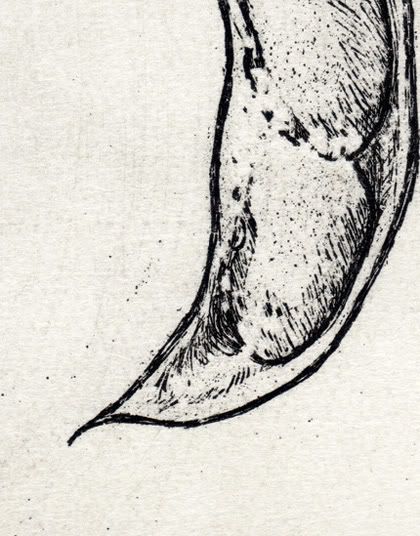
Sometimes the only way to remove the Red Stuff is to go over the lines lightly with your etching needle to dig them out. This is a pain in the ass to do so if you've found alternative methods, let me know.
This is what the plate looks like after the Red stuff has been removed.
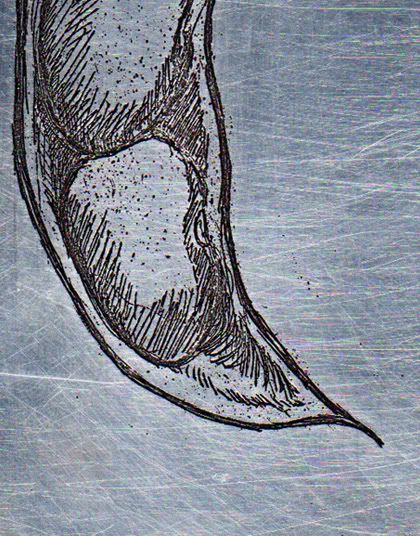
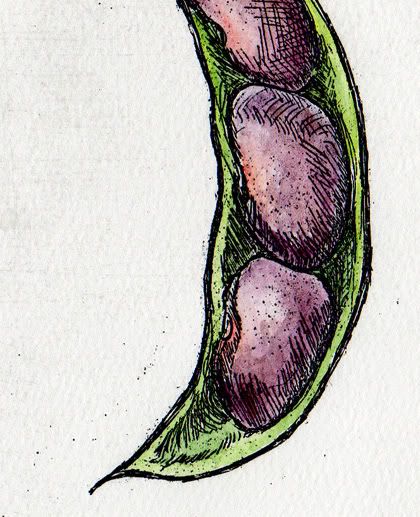
And the resulting print, lines intact. (Ignore the colour. I can't find a proof which I haven't already painted)
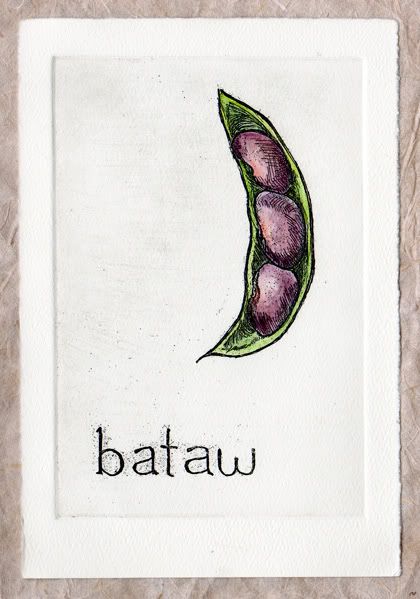
And to promote myself, here is what the actual artwork looks like as a whole. It is part of my Bahay Kubo series, which you may view on Etsy. Bataw is Hyacinth bean in English, and Lablab purpureus in Science :)
I won't be using aluminium for a while because I've just bought a nice big pile of copper plates (from Neil Wallace Printmaking Supplies, Melbourne) and am (temporarily?) switching to etching copper with ferric chloride. The next post will show you my semi-horrible first attempt at etching a copper plate.
Here's a picture of the Red Stuff on the plate and a picture of the resulting proof, to show you how troublesome the Red Stuff can be.


Sometimes the only way to remove the Red Stuff is to go over the lines lightly with your etching needle to dig them out. This is a pain in the ass to do so if you've found alternative methods, let me know.
This is what the plate looks like after the Red stuff has been removed.

And the resulting print, lines intact. (Ignore the colour. I can't find a proof which I haven't already painted)

And to promote myself, here is what the actual artwork looks like as a whole. It is part of my Bahay Kubo series, which you may view on Etsy. Bataw is Hyacinth bean in English, and Lablab purpureus in Science :)

I won't be using aluminium for a while because I've just bought a nice big pile of copper plates (from Neil Wallace Printmaking Supplies, Melbourne) and am (temporarily?) switching to etching copper with ferric chloride. The next post will show you my semi-horrible first attempt at etching a copper plate.
Labels:
aluminium,
bahay kubo,
copper sulfate,
etching,
safe printmaking
Wednesday, January 5, 2011
Subscribe to:
Comments (Atom)
