Showing posts with label printmaking. Show all posts

Wednesday, June 1, 2011

Herbs

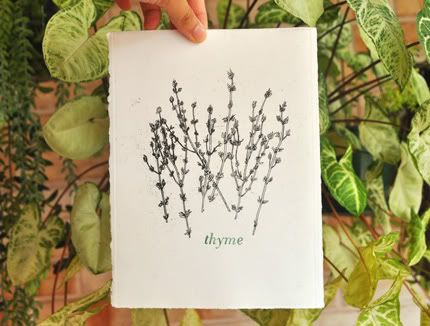
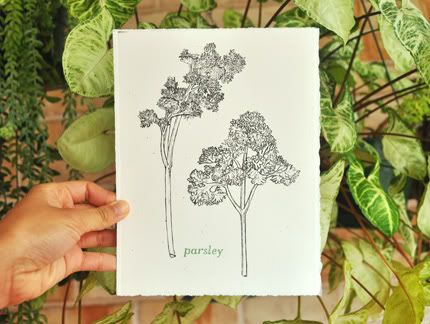
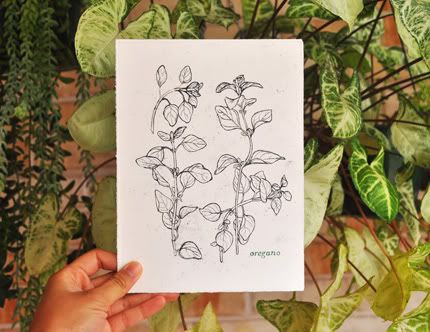
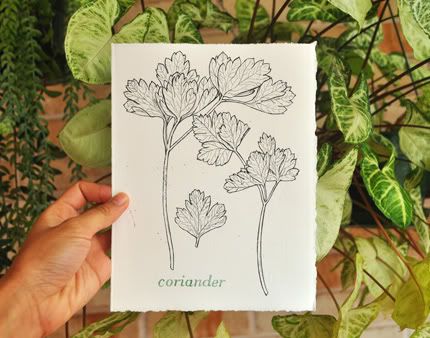
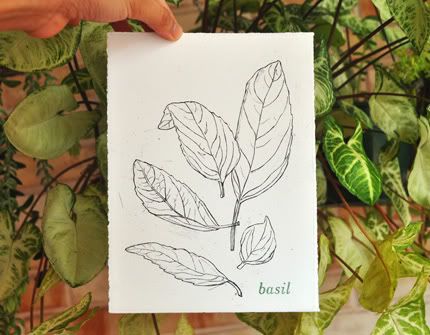
I made a new small collection of prints. They are cleaner and more intricately drawn than before. I present to you: the herbs series!


If you're of the buying persuasion, you may do so here.

Sunday, November 28, 2010

Smoking the plate

Smoking the plate is an extra process you can add when preparing your plate for etching. You only do it when using hard ground, and can do it with aluminum, zinc, or copper plate.

What is "Smoking the plate"?
It is darkening the surface of the hard ground-covered-plate using smoke from a flame.

Why smoke the plate?
This isn't a necessary part of the etching process but it can help in two ways. (1) The much darker surface means you can very easily see the lines you have drawn into the ground, and (2) It can serve to cover up any small holes you have left in the ground, if for some reason you didn't roll it on very well.

And how?
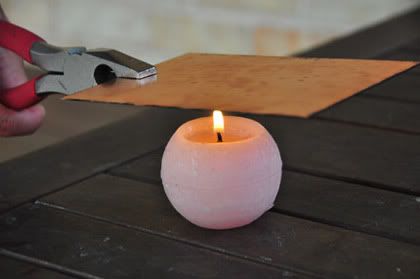
After applying the hard ground, take a pair of pliers with which to hold onto the plate. You need this because it'll heat up and you'll burn your hands otherwise. Hold it upside down (hard ground side down) over a flame and move it around.


Be careful:
• NOT to hold it in any one spot for too long.
• NOT to scratch the plate with the pliers. If you take some ground off, just cover it with bitumen after you're finished drawing.

It tends to work better if you have lots of little candles (unlike what I have in the photo), and light a few of them to get a wider flame.

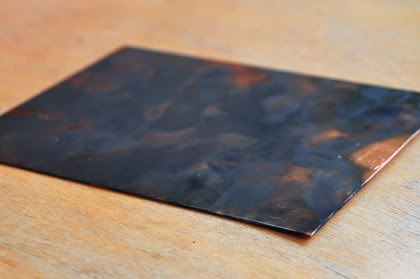
A smoked plate:


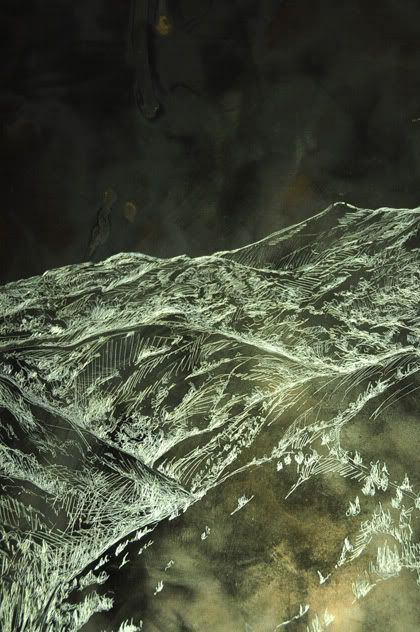
A drawing on a smoked plate:

Wednesday, April 7, 2010

Hard ground

The ingredients you need to make a hard ground is:

2 parts (8.5tbsp) lump/egyptian asphaltum
2 parts (5tbsp) beeswax (white is purer but yellow works too)
1 part (3tbsp) rosin

An ingredients list isn't quite enough to stir up a decent hard ground. You need to know how to make it, too. I have never actually tried this and am mainly posting this as a future reminder to myself. There appears to be a decent recipe/method for hard ground in Practical guide to etching and other intaglio printmaking techniques By Manly Banister, starting around page 11.

Do you have any tips?

Printmaking in Sydney

Here is a list of the printmaking classes in Sydney, Australia, which are not part of TAFE/university courses. If you know of any others, please post them in the comments box and I will add them to the list.

Warringah Printmakers Studio
• Offers an open access studio for members who have gone through a proficiency check
• Holds weekly classes in of intaglio, relief, woodblock, waterless lithography and more. Various days and times to choose from.
• Holds a few masterclasses throughout the year
• Has at least one annual exhibition for members, with opportunities for more
• Promotes safe printmaking techniques
• 1 term is 9 weeks. Cost varies according to classes taken.
www.printstudio.org.au
343 Condamine Street, Manly Vale. Tel: (02) 9949 2325

Hazelhurst Gallery
• Holds 2 weekly printmaking classes
• One or two masterclasses during the year
• 1 term is 10 weeks, $236
www.hazelhurst.com.au/ssc/hazel.nsf/
782 Kingsway St, Gymea. Tel: (02) 8536 5700

Waverly Woolahra Art School
• Various types of intaglio and relief printmaking
• 1 term is 9 weeks, $272
www.wwac.org.au/index.php
138 Bondi Road, Bondi. Tel: (02) 9387 2461

Pine Street Creative Arts Centre
• Weekly classes, from beginners to advanced
• 1 term is 9 weeks, $235
www.pinestreet.com.au
64 Pine Street, Chippendale Tel: (02) 9245 1503

College of Fine Arts
• Excellent facilities and teachers
• Probably won't run any short courses during 2010 and early 2011 because they are undergoing major refurbishment
http://www.cofa.unsw.edu.au
Corner of Oxford Street and Greens Road, Paddington

Info is correct as of April 2010.
Thursday, April 1, 2010

Safe etching part 1: aluminum

Finishing my Design degree at COFA last year brought with it the reality that I was no longer entitled to use their superior printmaking facilities and staff. Since then I have enrolled in a weekly class at the only open studio I could find in Sydney, which is in Manly Vale, 80 minutes public transport away from where I live.

This studio is a 'safe' studio. This means they universally encourage people to use photopolymer (solar) plates which don't use anything more toxic in its etching process than UV rays, water, and photocopying toner; that there is a distinct lack of turps and meth; and that if you must etch metal, you won't find any nitric acid for it.

There are substitutes for this. To clean the ink, we use vegetable oil. Not as fast and efficient, but definitely better for inhaling (oh, and it's edible). For etching zinc we use a mixture of copper sulfate and water.

So far I've worked mostly with aluminum plates, primarily because they are cheap. A zinc plate of the same size generally costs 10 times as much. There is a relatively safe etchant you can mix up at home for aluminum. I wouldn't recommend sticking your fingers in it or drinking it, but at the very least it is unlikely you'll pick up any thrid degree burns from it.

The recipe for aluminum plate etchant:

2 litres cold water
1 cup copper sulfate
1/2 cup salt
1 tbsp sodium bisulfate

You can buy copper sulfate from gardening stores (it's blue) and sodium bisulfate can be found in some powdered toilet cleaners (harpic in Australia).

Shake up the lot in a large container and pour it into a plastic tray. Photographic chemical trays work well. And there you have your etchant!

This post is horribly incomplete and has therefore been updated here.

Here is an excellent, in depth article about copper sulfate etching, by Nik Semenoff.